In This Section
- Home
- About
- Support
- DMIS – User Manual - 2019
- DMIS – How to View DSS Information
- DMIS - Virtual App
- Support & Login
- Getting Started
- Overview
- Maintain Department Preferences
- Setting up Module Structure
- Module Structure – Mark X Weight
- Virtual App DMIS Mark Entering/Import
- Entering Placement Judgements
- Recording Student Absences
- Recording Students who FAIL a SPECIAL REQUIREMENT
- Break code on a module
- Upload Module Marks to ITS
- Virtual App Report Download
- Common Support Queries
- Support & Login
- ITS
- Reporting Services
- DMIS Login on Virtual App
- Student Headcount Summary
- Contact
- ITS Upgrade v4.1 - Feb 2023
- Reporting Services
Maintain Department Preferences
-
This option allows the user to set specific preferences for their department.
-
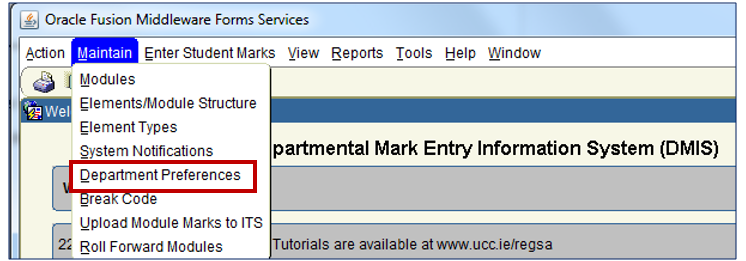
This option is available under Maintain>Department Preferences.
-
The Department Preferences screen is displayed as follows:
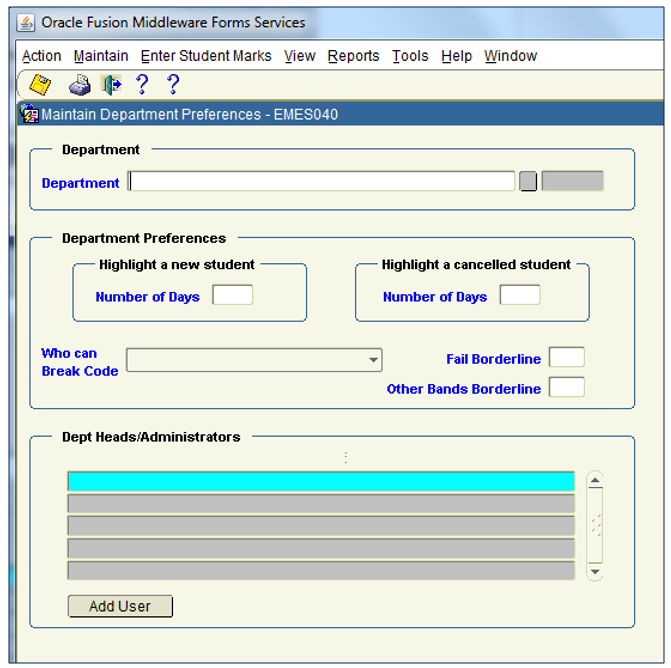
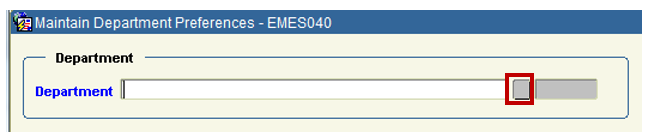
Step 1: The user must enter/select a valid department in the Department Name field. The user can select the department from the list of values button beside the Department Name field.
Step 2: The preferences for the selected department are automatically displayed.
Step 3: The user can change the option values as required. See below for a detail description of each field.
Step 4: Save details. The user can save by selecting menu Action> Save
Or by clicking the Save Button from the toolbar menu.

-
Step 5: All DMIS Department Admin Users will be displayed in the following section of the screen.
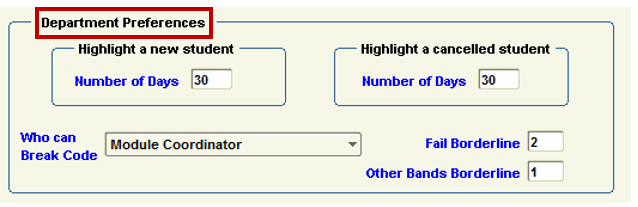
Department Preferences Screen - Field descriptions:
-
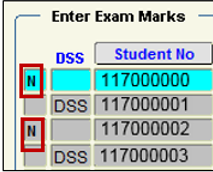
Highlight a new student – Number of days
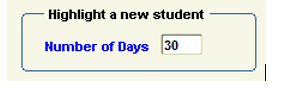
- This option allows the department to specify the number of days after a student has been registered that they will be highlighted. This setting is used on the Enter Student Marks screen (By List / Element).
- Where a student is within the specified Number of Days, the Enter Student Marks – By Student List / Element screen will display the letter = N next to the student.
-
Highlight a cancelled student – Number of days:
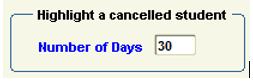
- This option allows the department to specify the number of days after a student has been cancelled that they will remain on the class list. This setting is used on the Enter Student Marks screen (By element List).
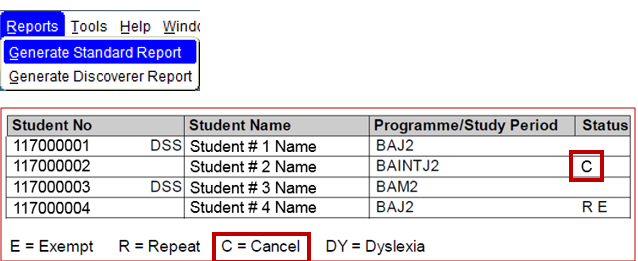
- When running a Module Class List in DMIS Standard Reports, a student that has cancelled within the specified Number of Days will have a status value = C.
Example:
Generate Standard Report – Module Class List
-
Who can Break Code:

- This option allows the department administrator to specify the level at which the code is broken in the department. Valid values are either Department Administrator or Module Coordinator.
-
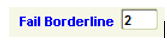
Fail Borderline:
-
This option is used in the DMIS Standard reports.
It allows the department to highlight students that are a given number of marks below the Pass mark for the module. This value should be set to 0 if the department does not want to highlight these cases.Example:
A Student who is within the Fail Borderline, will be flagged with a ‘b’ indicator in the Standard Reports.
-
-
Other bands borderline:

- This option is similar to the Fail Borderline except it highlights students that are a given number of marks below the next band. This value should be set to 0 if the department does not want to highlight these cases.
-
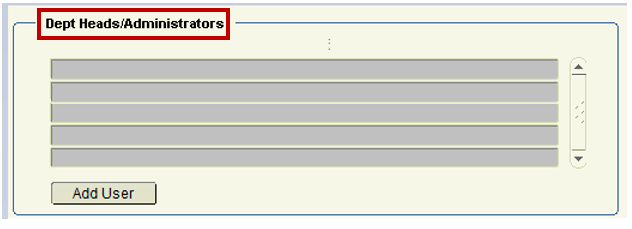
Dept Heads/Administrators:
- This option displays a full list of all the users that have department administrator access for the selected department.
- This option displays a full list of all the users that have department administrator access for the selected department.
-
Add User:
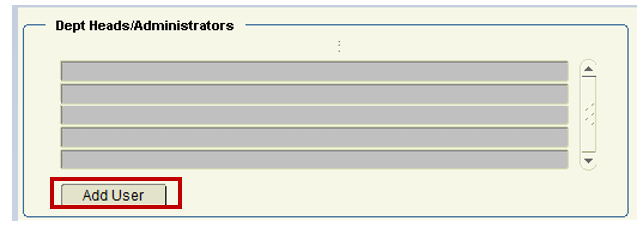
- This option gives the department administrator the facility to add additional department administrators. A department administrator will then have full access to all modules within that department. When the user selects ‘Add User’ a popup window is displayed:
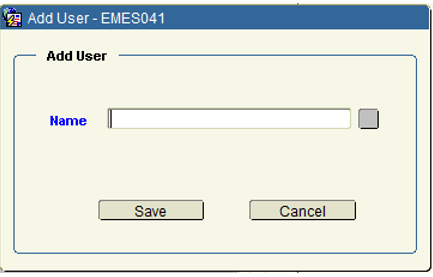
- The user must enter/select a valid user and click ‘Save’.
- ‘Cancel’ will ignore the addition and return to the Department Preferences screen.
- This option gives the department administrator the facility to add additional department administrators. A department administrator will then have full access to all modules within that department. When the user selects ‘Add User’ a popup window is displayed:
Maintain & View Modules
- This option allows the user to review the module details as they were downloaded from ITS Student Records System. The module information is downloaded from ITS to DMIS each night.
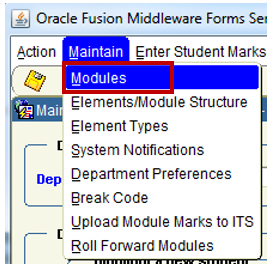
- This option is available under Maintain> Modules.
-
The Maintain Module screen is displayed as follows:
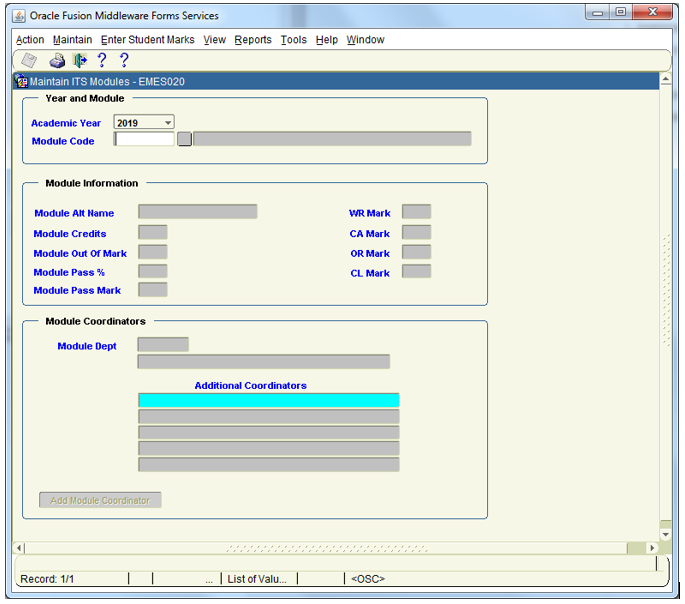
Step 1: The user must select an academic year.
The academic year is in the format 2019 (= 2018 /2019).
If the user has set the academic year session default then this value will be automatically selected.Step 2: Enter/Select a valid Module Code.
The user must enter a valid module code or select a module code from the list of values (LOV).
The user can only select module codes that they have the security setting to select. For example a department administrator will be able to select any module code that is delivered by their department (as defined by ITS).Step 3: After selecting a module code the details for that module are automatically displayed. The user cannot change any items on this field (except module coordinator) as ITS is the master file for all the module details. If any information is incorrect then the Registrars Office needs to be informed and the details amended on ITS. Any changes will then be filtered down to DMIS the next night.
Example:
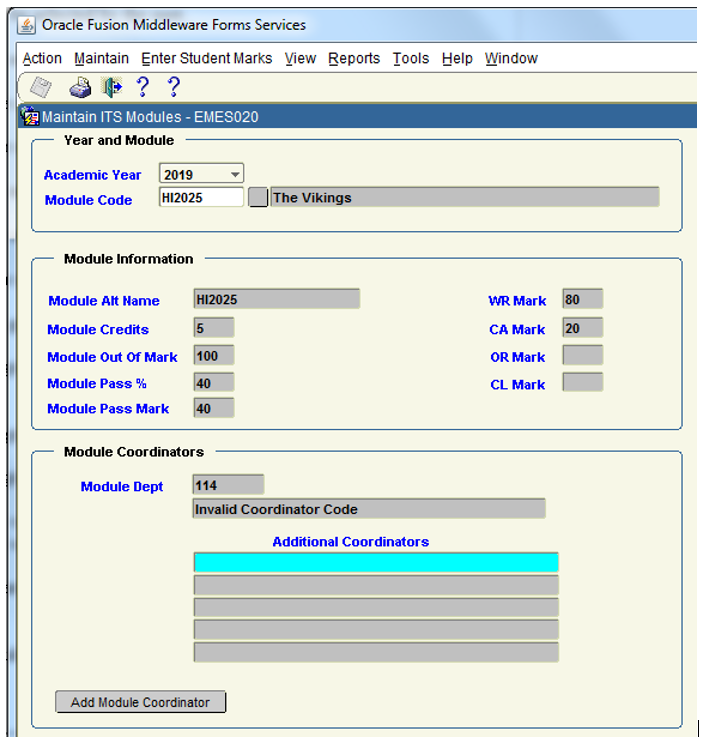
Maintain Module Screen - Field descriptions:
1/ Academic Year:
The academic year to be selected by the user.
2/ Module Code:
The module code to be selected by the user.
3/Module Alt Name:
Alternative Module name in ITS.
4/Module Credits:
Number of credits for module.
5/Module Out of Mark:
Out of mark for module.
6/Module Pass Mark:
Pass Mark for the module.
7/Module Pass %:
Percent pass mark for module.
8/WR Mark:
The total number of marks given to Written for the module.
9/CA Mark:
The total number of marks given to Continuous Assessment for the module.
10/OR Mark:
The total number of marks given to Oral for the module.
11/CL Mark:
The total number of marks given to Clinic for the module.
 NB: WR, CA, OR, CL Marks – it is very important that these are correct because the subsequent module structure setup in DMIS will refer back to these values.
I.e. – If they are incorrect, you will not be able to enter Marks for your Module.
12/Module Dept:
This is the primary department responsible for the module as defined in ITS.
13/Module Coordinator:
This is the module coordinator that has been setup on ITS.
14/Additional Coordinators:
These are the additional coordinators that have been setup on the DMIS system.
15/Add Module Coordinator:
This button allows a module coordinator or department administrator to setup additional module coordinators.
Academic Systems Administration Office
Contact us
2nd Floor, West Wing, Main Quadrangle, University College Cork (UCC), Western Road, Cork